
Contacts: your first app
You will build a contacts app: companies, the people at them, and where each person stands, from a lead to a customer. It takes about twenty minutes. Along the way you will use most of what you need for any Nevela app.
You need PHP 8.3 or newer with Composer, and Node.js 20 or newer: Set up your computer says how to get them, if you haven’t yet.
1. Create the app
Section titled “1. Create the app”nevela new contactscd contactsnevela devnevela dev runs the Laravel API and the dashboard together. Open http://localhost:3000/sign-in and sign in as admin@example.com with the password password. The dashboard is empty for now, apart from the blog every new app has.
If you don’t have the nevela command, install it first with npm install -g create-nevela, or see Without the nevela command.
2. Companies
Section titled “2. Companies”Leave nevela dev running and open a second terminal in the same folder.
nevela resource Company --fields="name:string!, website:url?, industry:enum(software|retail|finance|health|education)?" --icon=building-2 --seed=12Each field is a name and a type:
| Field | Meaning |
|---|---|
name:string! |
Text. The ! makes it unique: no two companies share a name. |
website:url? |
A web address. The ? makes it optional. |
industry:enum(…)? |
One of a fixed list, optional. |
That one command wrote the Laravel side (a migration, a model, validation, a policy and the API at /api/companies) and the dashboard’s pages. --seed=12 made the table and filled it with twelve companies, so there is something to look at. Reload the dashboard: Companies is in the sidebar.
3. Contacts
Section titled “3. Contacts”nevela resource Contact --fields="name:string, email:email!, phone:tel?, company:belongsTo(Company)?, status:enum(lead|customer|lost), notes:text?" --icon=contact --seed=200Two fields are new here:
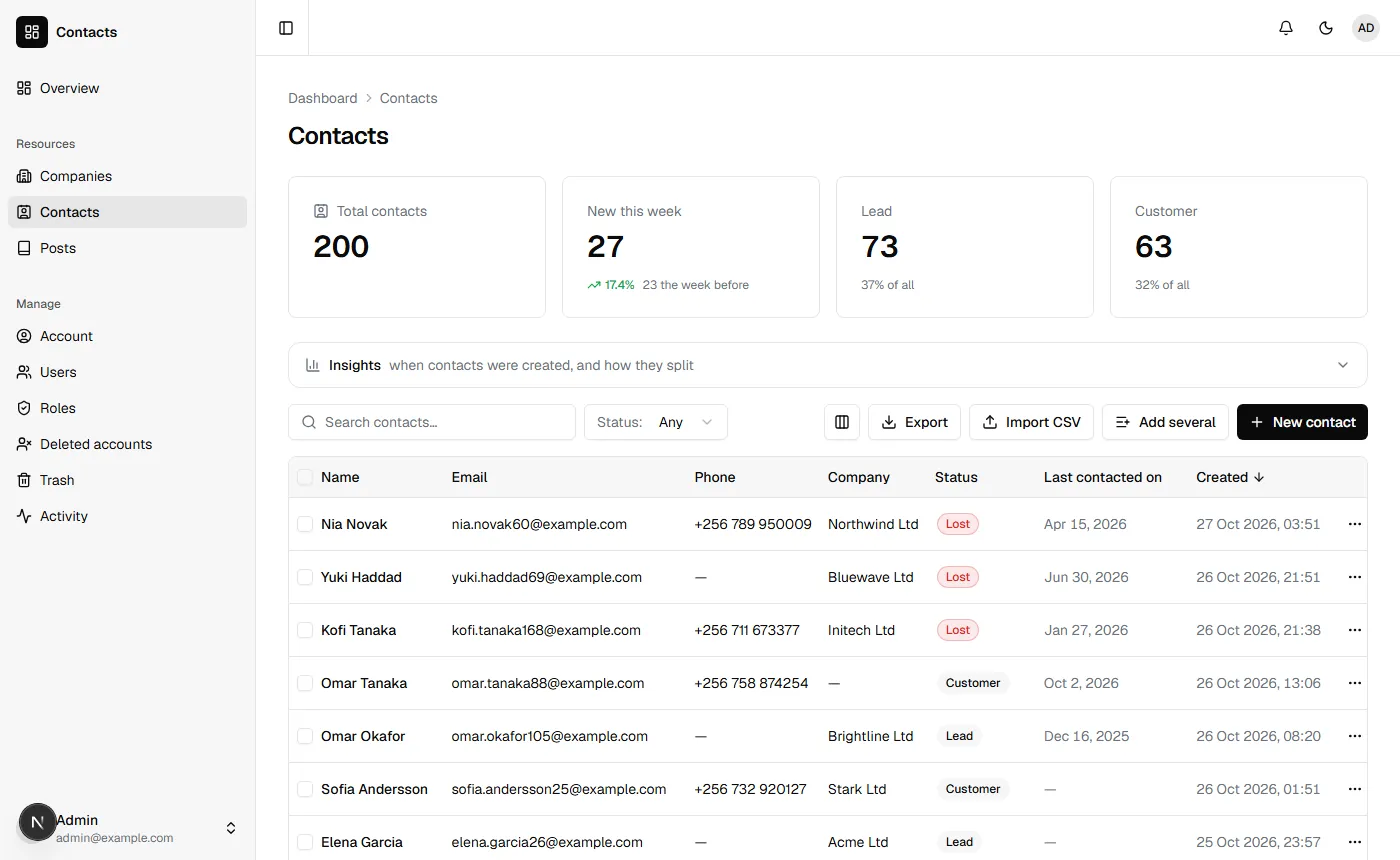
company:belongsTo(Company)?links a contact to one company. In the form it is a picker that searches companies by name. The?lets a contact have no company.status:enum(lead|customer|lost)is required, so every contact has one. Each status gets a count above the table, a badge in it and a filter.
4. Look around
Section titled “4. Look around”Everything here came from the two commands.
- Search looks through the text fields, and Status filters the list.
- Insights opens charts of when contacts were added, and how they split by status. They chart what the list is showing, search and filter included.
- The column button chooses which columns to show. Export downloads what you see as a CSV, and Import CSV reads one in. Add several is a grid for typing in many contacts at once.
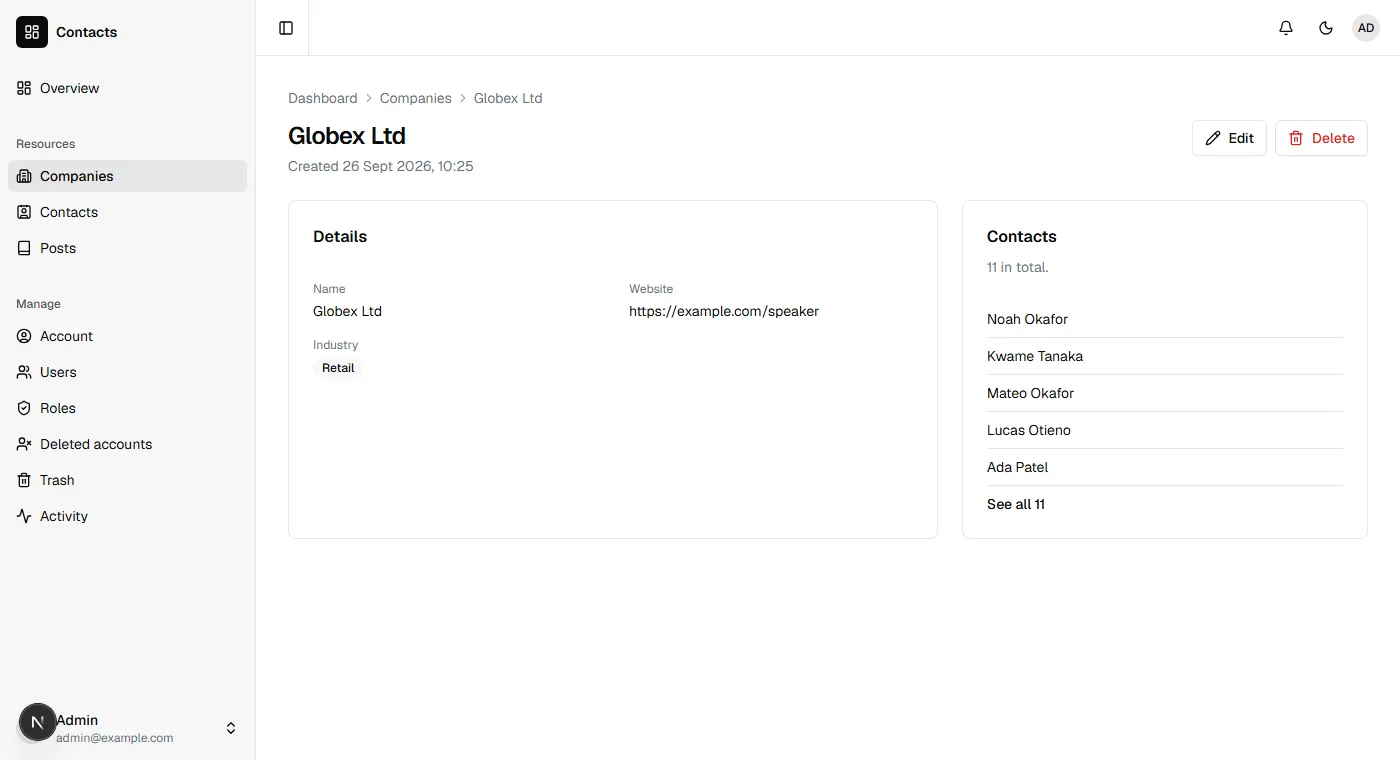
- Open a contact for its page. Its company is a link.
- Open a company, and its contacts are listed beside it.
Delete a contact and it goes to the Trash, where it waits 30 days and can be restored. Activity shows who created, changed and deleted what.
5. One more field
Section titled “5. One more field”You want to know when you last spoke to someone. Add a field to the resource:
nevela field Contact "lastContactedOn:date?"The quotes are there because a shell reads ? as something else. That one command adds the field to the resource’s descriptor, the JSON file every part was generated from (apps/api/nevela/resources/contact.json), generates the model, the validation, the API and the dashboard’s description of a contact again, and adds the column to the table. Your 200 contacts stay as they were, with the new field empty.
Reload: the form has a date picker for it, and the table a column. See nevela field for what else it does, and Regeneration and your code for what is rewritten and what is yours.
6. A button that does something
Section titled “6. A button that does something”Turning a lead into a customer is something you will do often. Make it one click. Actions are a section of the descriptor of their own, "actions", beside "fields" and not inside it. Add it after the brace that closes "fields", with a comma after that brace. The end of the file is then:
"lastContactedOn": { "kind": "date", "required": false } }, "actions": { "markCustomer": { "label": "Mark as customer", "icon": "check", "confirm": "Mark this contact as a customer?", "when": { "status": "lead" }, "many": true } }}If nevela generate says Unsupported kind "" on field "actions", the section went inside "fields": move it out, after the brace that closes them.
whenshows the button only on leads, and Laravel refuses it on anyone else.manylets you select several leads in the table and mark them all at once.
nevela generate ContactThat wrote apps/api/app/Nevela/Actions/Contact/MarkCustomer.php, where you say what the button does. It is yours, and is never written over. Make it this:
<?php
namespace App\Nevela\Actions\Contact;
use App\Models\Contact;
class MarkCustomer{    public function handle(Contact $contact, array $input): ?string    {        $contact->update(['status' => 'customer', 'last_contacted_on' => now()->toDateString()]);
        return "{$contact->name} is a customer now.";    }}
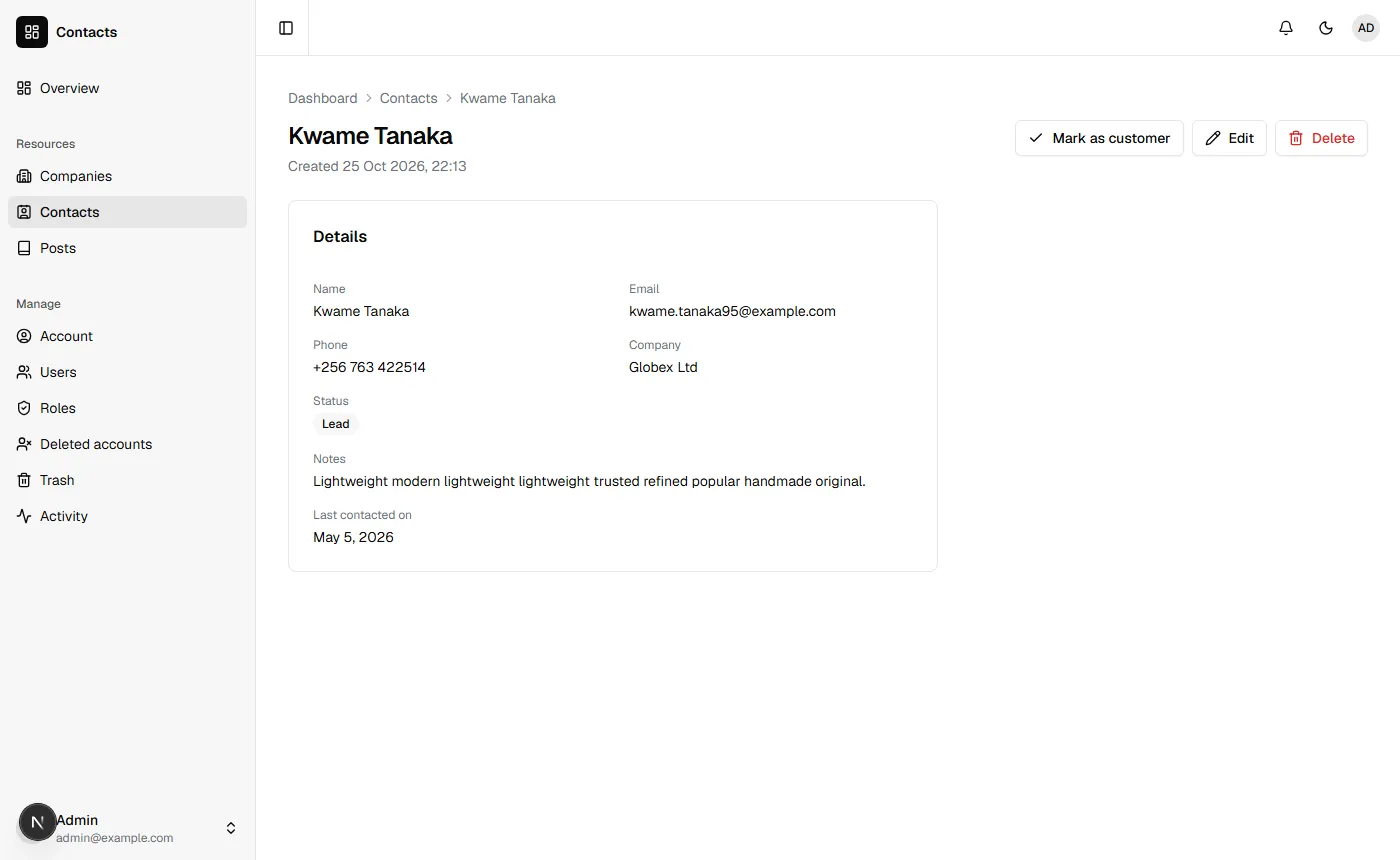
What it returns is the message the person sees. Open a lead: the button is beside Edit. Press it, and the contact is a customer, contacted today.
The button is on leads only, because of when, so a customer or a lost contact doesn’t have it. Someone lost who comes back later is won back by hand: Edit, and set Status to Lead or Customer. If that happens often enough to want a button, add a second action beside markCustomer, such as winBack with "when": { "status": "lost" }. when compares a field with one value, so each status that should have a button gets an action of its own.
Actions on a record has the rest: actions that ask for something first, and actions on the list as a whole.
7. Who may do what
Section titled “7. Who may do what”Each resource came with permissions: contacts.view, contacts.create, contacts.edit and contacts.delete, and the action added contacts.mark_customer. The administrator has them all. The two sample editors have the first four but not Mark as customer: a resource’s own action is given by name, so that “everything to do with contacts” doesn’t also hand someone a button that might, say, send an email. Tick it on EDITOR to give it to them. The sample users have none, so Contacts isn’t in their sidebar.
Open Roles and press Edit on USER. Under Resources, tick View on the Contacts row, and Save. The action is there too, under Contacts, as Mark as customer.
Sign out, and sign in as sofia.martinez@example.com (the same password). Contacts is in her sidebar, and nothing else of yours: no New, no Edit, no Delete, no Mark as customer. Laravel refuses those to her as well, whatever a page shows. Her Company column says Hidden: her role doesn’t include companies. Tick View on Companies as well, and the names are there.
For a rule about the record itself, such as “only the person who added a contact may delete it”, write it in apps/api/app/Policies/ContactPolicy.php. See Users, roles and permissions.
8. The API
Section titled “8. The API”The dashboard uses an API you can call from anything: a phone app, a script, another service. Sign in for a token:
curl -s -X POST http://127.0.0.1:8000/api/auth/token -H "Content-Type: application/json" -H "Accept: application/json" -d '{"email":"admin@example.com","password":"password"}'The answer has a token. Send it with every request:
curl -s -g "http://127.0.0.1:8000/api/contacts?filter[status]=lead&sort=name&perPage=5" -H "Accept: application/json" -H "Authorization: Bearer <token>"That is the first five leads by name, with how many there are in all. REST API has every endpoint, and the same permissions apply there as in the dashboard.
What you built
Section titled “What you built”- Two resources, linked, each with a table, a form, a page, search, filters, import and export, and an API.
- A field added after the fact, with one command.
- An action, with its permission and its button.
- Roles that decide who sees what.
Next, An online shop with orders adds pictures, prices, orders with their items, and a page anyone can open. Before you put the app online, read Deploying.